|
|
|
 |
Painting |  |
|
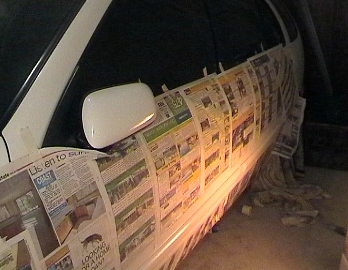
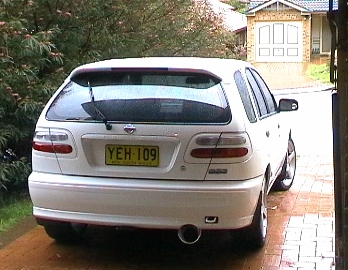
colour codeing the bump strips the only thing i didnt like about the n15 s2 was the black plastic bump strip,so a week after buying it, rach and i masked them up and went at them with a few cans of holts spray paint!, just follow the same steps as the tail lights for how to paint. |
|
|
|
|
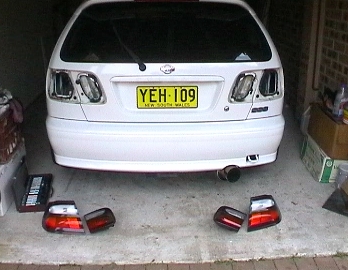
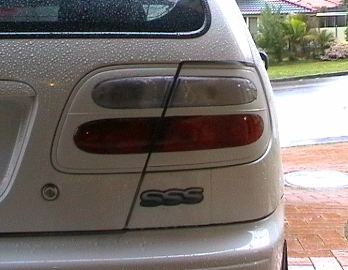
| step 1 remove the tail lights, there are a few 8mm bolts on the inside of each light, once they are undone pull them out. This will be a bit hard cause they are held in by black silicone stuff. |
 |
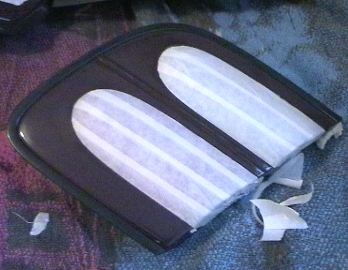 |
step 2 masking the lenses, i found the easiest way to do this was to put the tape on then with a rasor blade,cut around the lense |
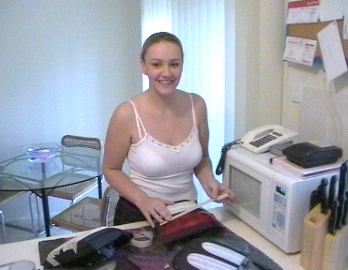
| step 2 is where the other half comes in handy! |
 |
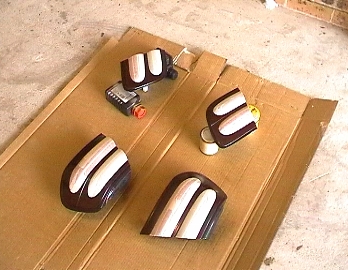 |
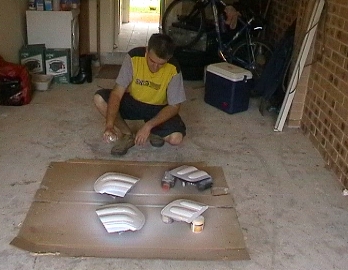
step 3 give the lights a light rub back with some wet and dry sand paper clean them with some turps, or wax and grease remover spray a few coats of plastic primer and leave to dry |
| step 4 start spraying, just do a few light evan coats,waiting till they dry before doing the next coat. i used 1 and a half 150g holts tins, when they are done and dry do a few coats of clear |
 |
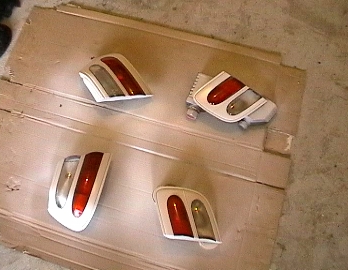 |
step 5 once they are dry, carefully take off the masking tape, you might need to touch up a few spots with a paint brush get some turps to clean of the tape residue i also used a fine black permenent marker around the lense to define the edge of them |
| step 6. putting the lights back in, same as step 1 but reveresed, just remember to plug them back in! |
 |
 |
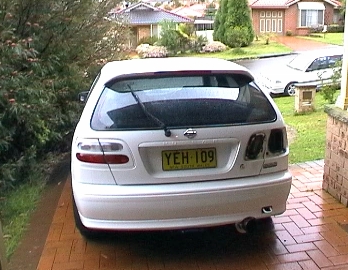
step 7 do a quick check that all the bolts are tight and that the lights work, then stand back and admire!! |
| |
 |
|
|
|
| |
|
|
|
|
| |
|